Installing new trim around your doors can make a huge difference in the appearance of your home. While it might seem like a small detail, properly fitted door casing adds polish and dimension to any room, giving your walls and doorways a clean, finished look. Whether you’re renovating, replacing old trim, or finishing a new build, learning how to install casing yourself can save money and offer great satisfaction from a job well done.
The process may sound intimidating, but with some basic tools, careful measurements, and patience, even a beginner can achieve professional-looking results. This guide will walk you through every stage of the installation, from preparation to finishing touches, so you can confidently transform your interior spaces with perfectly installed casing.
1. Gather the Right Tools and Materials
Before starting your project, make sure you have all the necessary tools and materials on hand. The essentials for installing door casing include:
- Miter saw (for accurate angled cuts)
- Measuring tape
- Level
- Pencil
- Nail gun or hammer and finishing nails
- Wood filler
- Caulk and caulk gun
You’ll also need the casing itself, which comes in various styles, materials, and widths. Choose a profile that complements your home’s interior design. MDF and pine are common options for painted casing, while hardwoods like oak or maple are great for stained finishes.
2. Measure and Plan Before Cutting
Accurate measurements are the foundation of a successful door casing installation. Start by measuring the height of each side of your doorway from the floor to the top of the jamb, and the width across the top. It’s always a good idea to measure twice to ensure precision.
Next, decide how much of the door jamb you want visible after installation—typically about 1/8 inch of reveal. Use your pencil and a combination square to mark this reveal line on the door jamb around all sides. These lines will act as your guide when positioning the casing pieces.
By taking time to plan your layout and cuts before making any saw adjustments, you’ll reduce waste and ensure each piece of casing fits neatly without visible gaps.
3. Cut the Casing to Fit
The most important cuts in installing casing are the mitered corners where the side pieces meet the top piece. Set your miter saw to a 45-degree angle and cut the top ends of each side casing accordingly. The top casing piece will also need matching 45-degree cuts on both ends so the corners fit together cleanly.
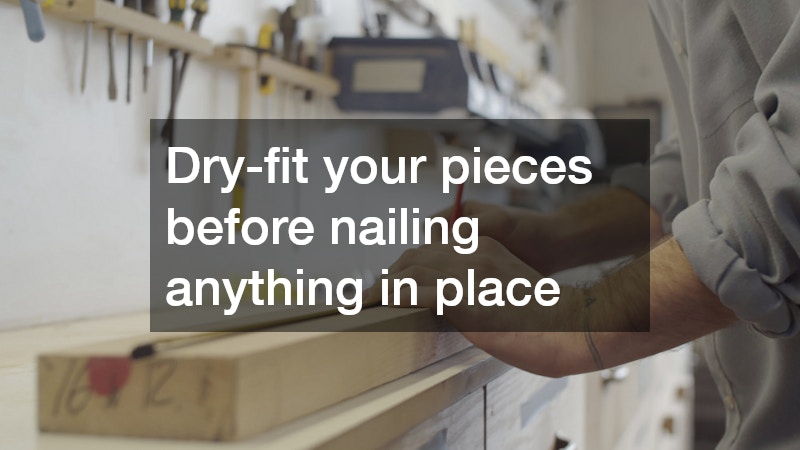
Dry-fit your pieces before nailing anything in place. This allows you to make any small adjustments before committing to a final fit. If you notice uneven walls or floors, you may need to slightly trim or sand the casing to ensure it sits flush.
Accuracy here is key. Taking the time to cut each piece correctly will help your door casing look seamless and professional once it’s nailed and finished.
4. Install the Side Pieces First
Once your pieces are cut and ready, start with the side casings. Align one side piece along your pencil reveal line and check it with a level to make sure it’s perfectly vertical. Secure the casing using a nail gun or hammer with finishing nails, placing nails every 12 to 16 inches along the jamb and wall side.
Repeat this process for the other side of the doorway. It’s crucial that both side casings are perfectly plumb and that the distance between them matches the width of your top casing piece. Any misalignment here will make the top joint uneven.
Installing the side pieces of your door casing first gives you a stable foundation to position and secure the header piece accurately.
5. Add the Top Casing and Check Alignment
Next, fit the top casing piece into place, ensuring the mitered corners meet tightly with the side casings. Adjust the fit as needed before securing it with nails. Once nailed, check all joints and make sure there are no visible gaps.
If your corners don’t meet perfectly, don’t panic. Slight imperfections can be corrected later using wood filler or caulk. The goal at this stage is to make sure the door casing is secure, level, and visually even across all sides.
You can also use small finishing nails to reinforce the corners where the top and sides meet for added stability.
6. Fill, Sand, and Caulk for a Flawless Finish
With all pieces installed, it’s time to focus on the finishing details that give your door casing that professional look. Start by filling any nail holes or minor gaps with wood filler. Once it dries, lightly sand the area until smooth.
Next, apply a thin bead of paintable caulk along the edges where the casing meets the wall and at the miter joints. Smooth it out with your finger or a caulking tool for a clean line. This step not only improves the appearance but also helps seal small cracks and gaps.
Finally, wipe down the entire surface with a damp cloth to remove dust before painting or staining. A smooth, clean surface ensures your casing finish will look crisp and even.
Installing door casing may seem like a detail, but it plays a big role in the overall style and quality of your home’s interior. With the right tools, careful measurements, and a step-by-step approach, any homeowner can achieve a clean, professional look. By following these steps—planning, cutting, fitting, and finishing—you can confidently handle your own casing installation. The result is a polished doorway that not only looks great but also reflects the care and craftsmanship you put into your home.